10 Displaying Images
Having converted the images to the NDF format it is usually sensible to have a look at them before
you proceed with the reductions. Any gross defects in the data will often be readily apparent and a
quick check before you start may save you a great deal of wasted effort. Similarly, it is often prudent to
display intermediate images created during the reductions to check that nothing has gone
awry.
Several image display programs are available. One of the simplest to use, yet most powerful
and flexible, is GAIA (see SUN/214[11]), which will be used in this recipe. Proceed as
follows.
-
(1)
- Move to subdirectory
targets.
-
(2)
- Start GAIA by typing:
The ampersand (‘&’) is, of course, simply to run GAIA as a detached process, so that you can
continue to issue Unix commands from the command line. The GAIA window should appear.
Load file ngc2336_r_2.sdf by clicking the File menu (rightmost of the options in the menu bar at
the top of the window), selecting Open… and using the file-picker which appears to choose the
appropriate file.
-
(3)
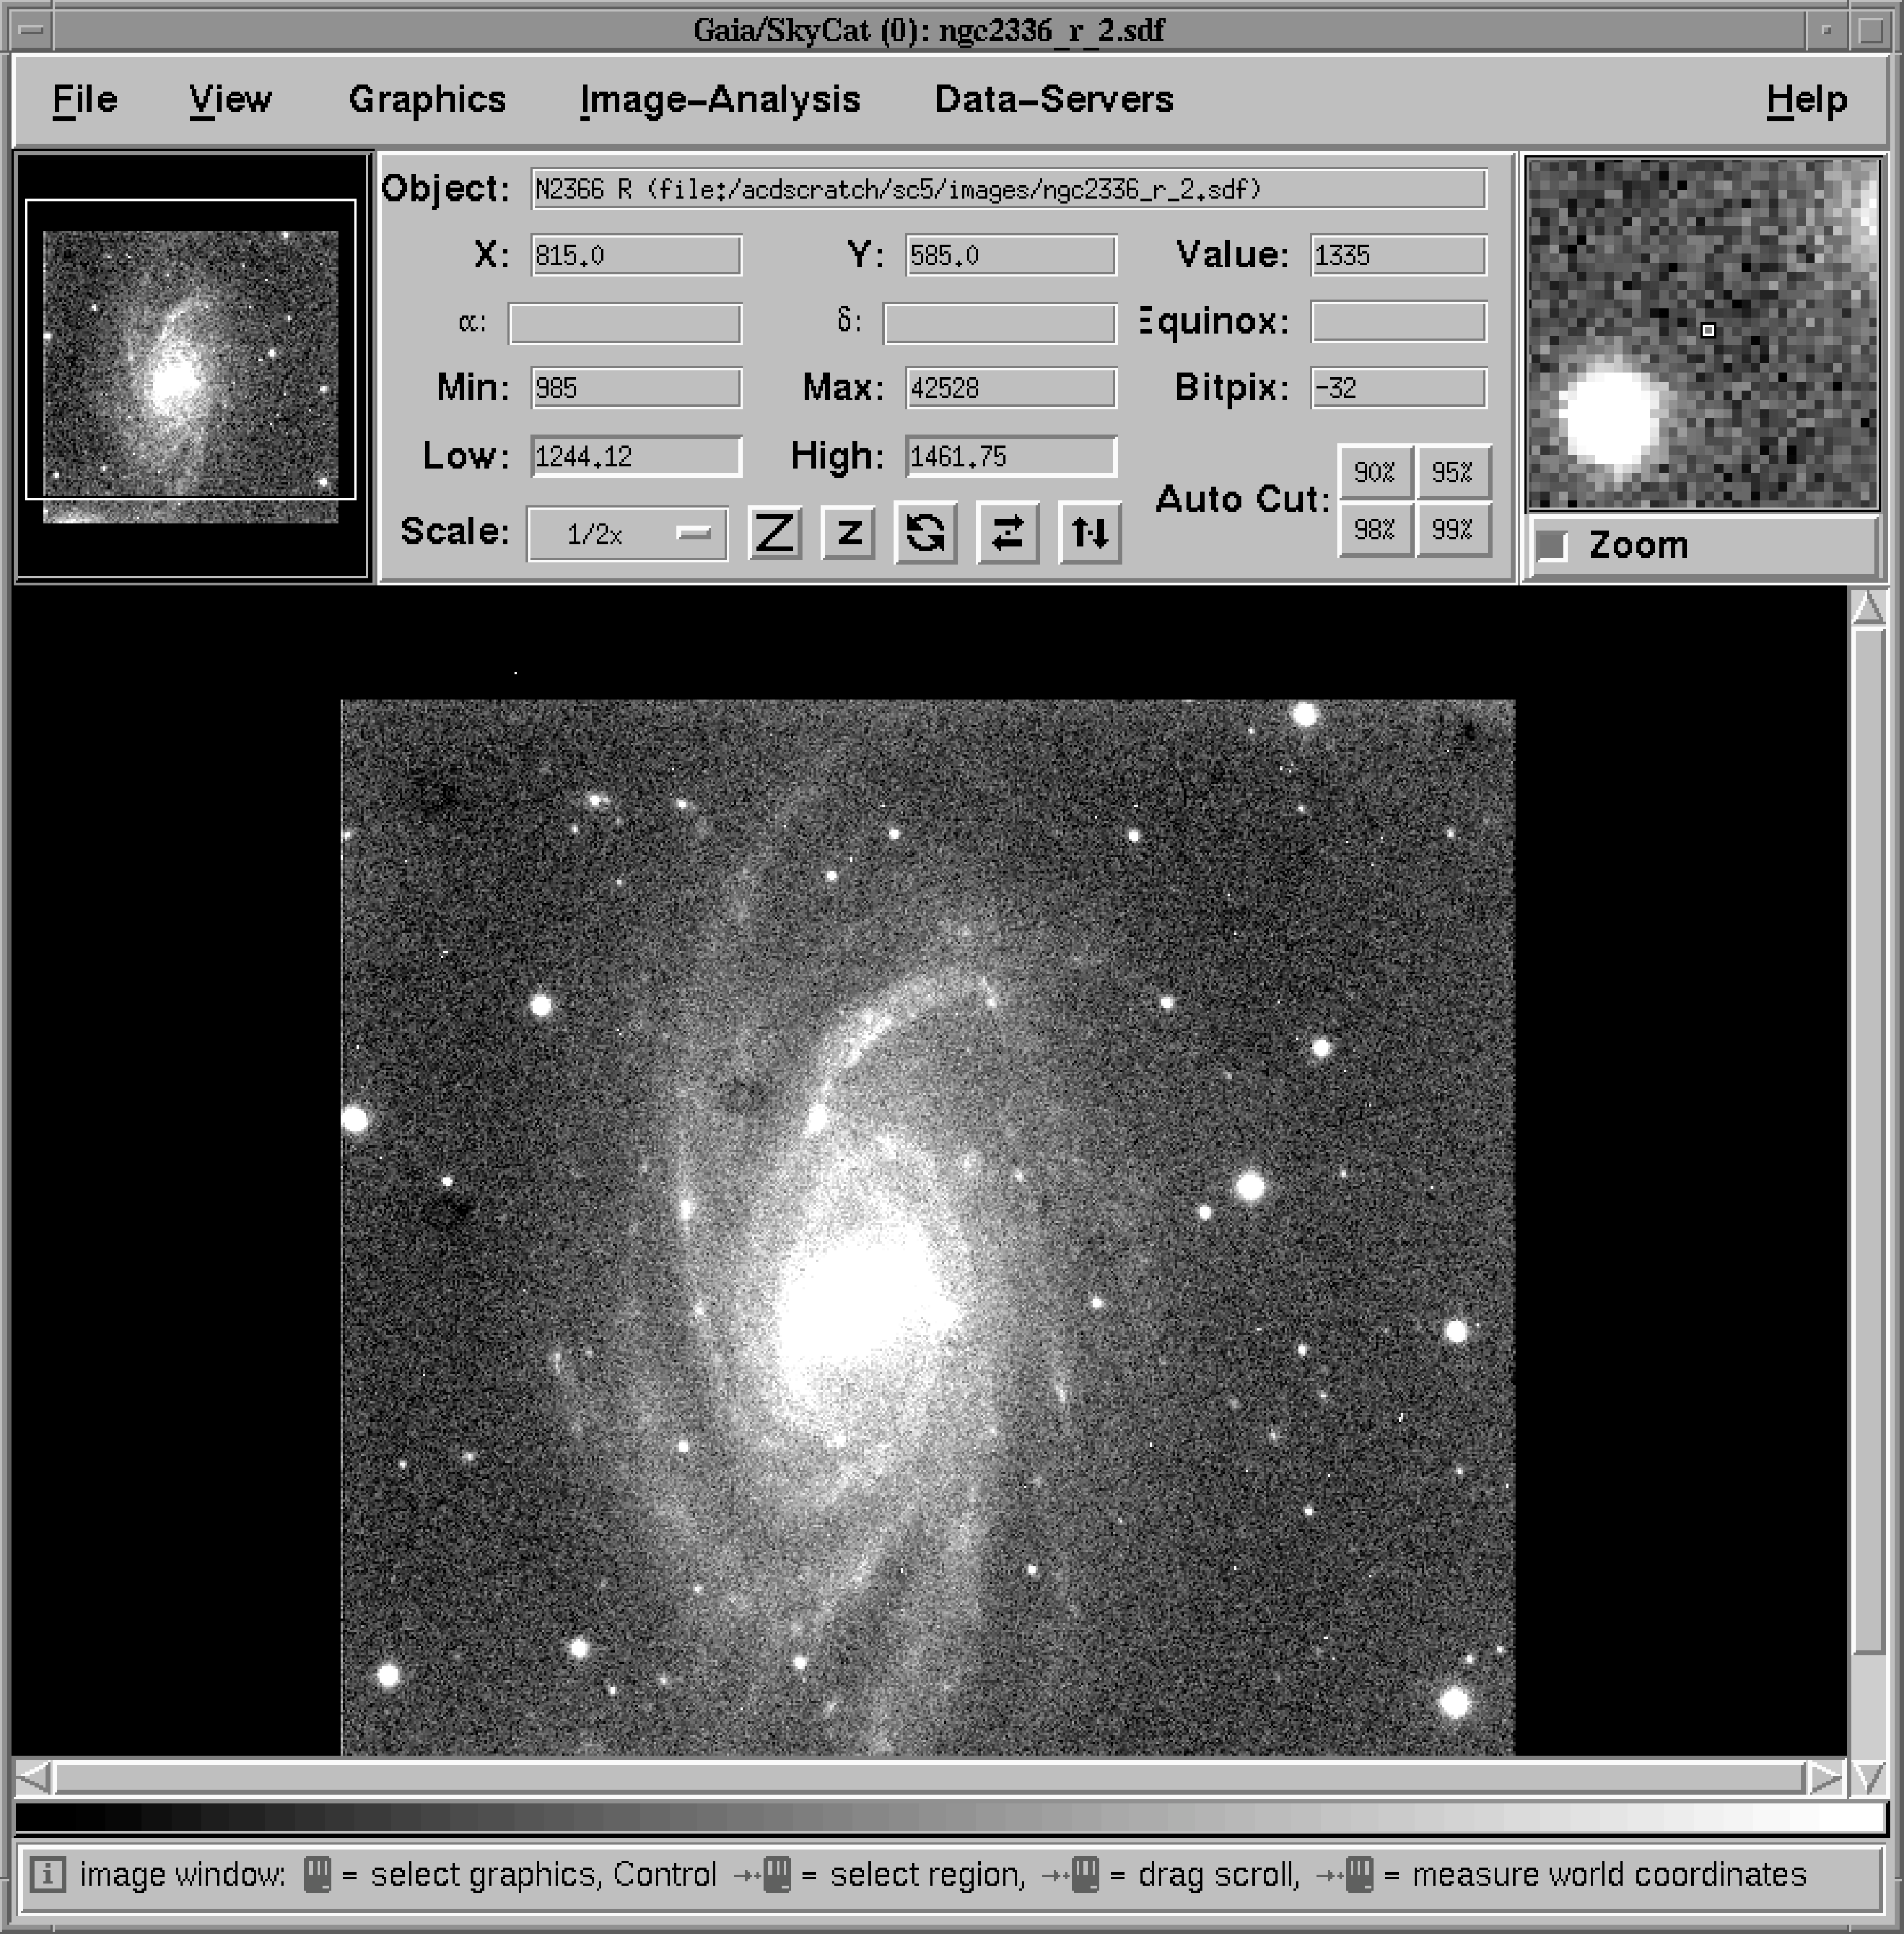
- The file should open, but the main display window will probably be mostly dark, with just a few
white dots corresponding to the brightest parts of the image. Set some of the display options as
follows:
-
(a)
- click the Auto Cut: button for 90% (in the bottom right of the control panel in the
centre top of the window),
-
(b)
- click the View menu (second left in the menu bar at the top of the window), select
Magnification and set it to 1/2x,
-
(c)
- click View again, select Colors… (sic) and choose the heat colour table.
The display should now look something like Figure 10.
-
(4)
- GAIA has many other functions and options and you may want to spend a while exploring
some of them. On-line help is available from the Help menu at the extreme right of the menu bar
at the top of the window. Similarly, you might also like to examine the other target image and
the flat field and bias frames included in the example.
-
(5)
- When you have finished close GAIA by clicking on the File menu and choosing the Exit
option.
Copyright © 2001 Council for the Central Laboratory of the Research Councils
